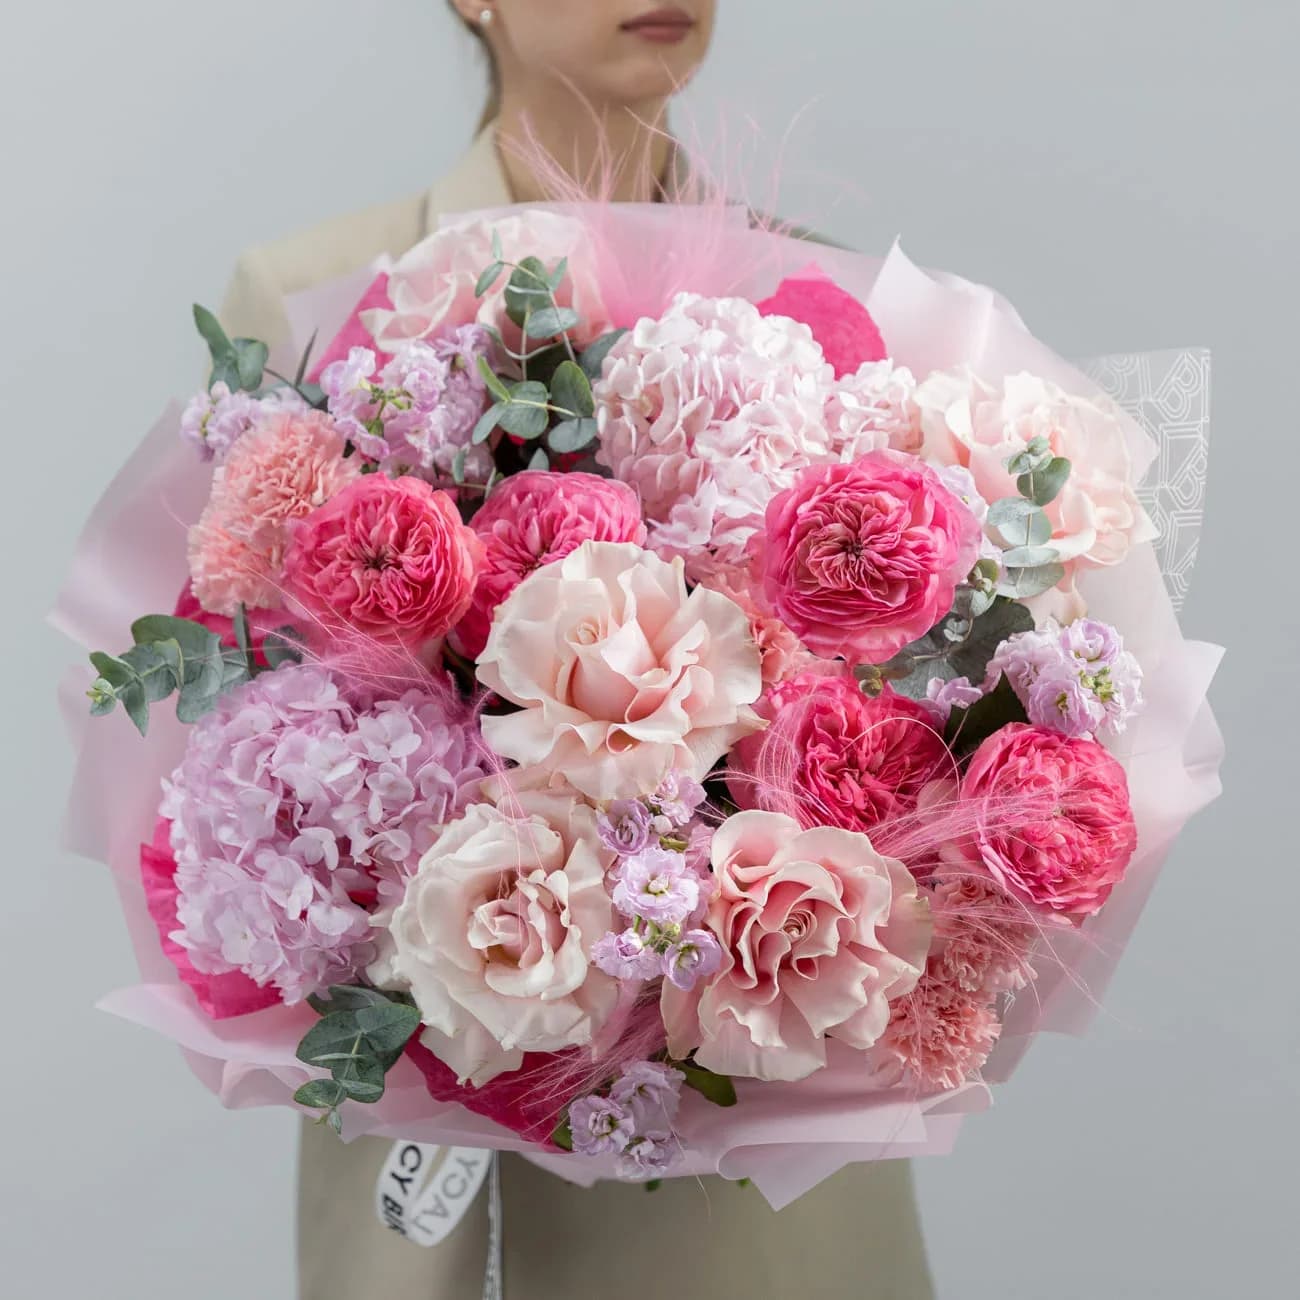
How to Make a Bridal Bouquet — the working florist's method
A step-by-step method for a round, hand-tied bridal bouquet — flower selection, spiral construction, ribbon finish. Written by a working wedding studio.
The bridal bouquet is the single most photographed floral piece of any wedding day. Everything about how it looks in photographs — the shape, the colour balance, the flow at the bride's hands — depends on the construction technique below.
This guide walks through the standard round hand-tied spiral method used by working wedding studios worldwide. It's the most versatile structure, works with almost any flower combination, and is achievable by a determined DIY-er with the right prep.
TL;DR. A bridal bouquet is 25-40 stems built on a spiral grip: focal flowers first, secondary spiralling around them, filler and greenery last, then tape and ribbon. Time: 45-90 minutes once flowers are conditioned. DIY materials cost: $80-160 for a mid-size bouquet vs $400-1,500 for a professional equivalent.
Should you DIY, or hire a florist?
Before starting materials shopping: decide honestly whether this is DIY-appropriate for your wedding.
DIY works when:
- Bouquet is small to mid-size (25-40 stems)
- Flowers are hardy varieties (roses, ranunculus, spray roses)
- You have 3-4 hours of build time the day before the wedding
- You have a helper for support and photography
- The wedding aesthetic is deliberate and simple, not elaborate
Hire a professional when:
- Bouquet is large (40+ stems)
- Cascade or elaborate architectural structure
- Delicate flowers dominate (peonies, sweet peas, anemones, ranunculus in warm weather)
- Formal wedding with professional photography
- You have any doubt at all about your steadiness of hand under wedding-morning pressure
The gap between DIY and professional is typically $400-1,500 in savings against 4-8 hours of your day plus the emotional risk of a subpar result during a photographed, once-in-a-lifetime event. For most couples with any budget, hiring wins.
If you're still going ahead — read on.
Materials — what you actually need
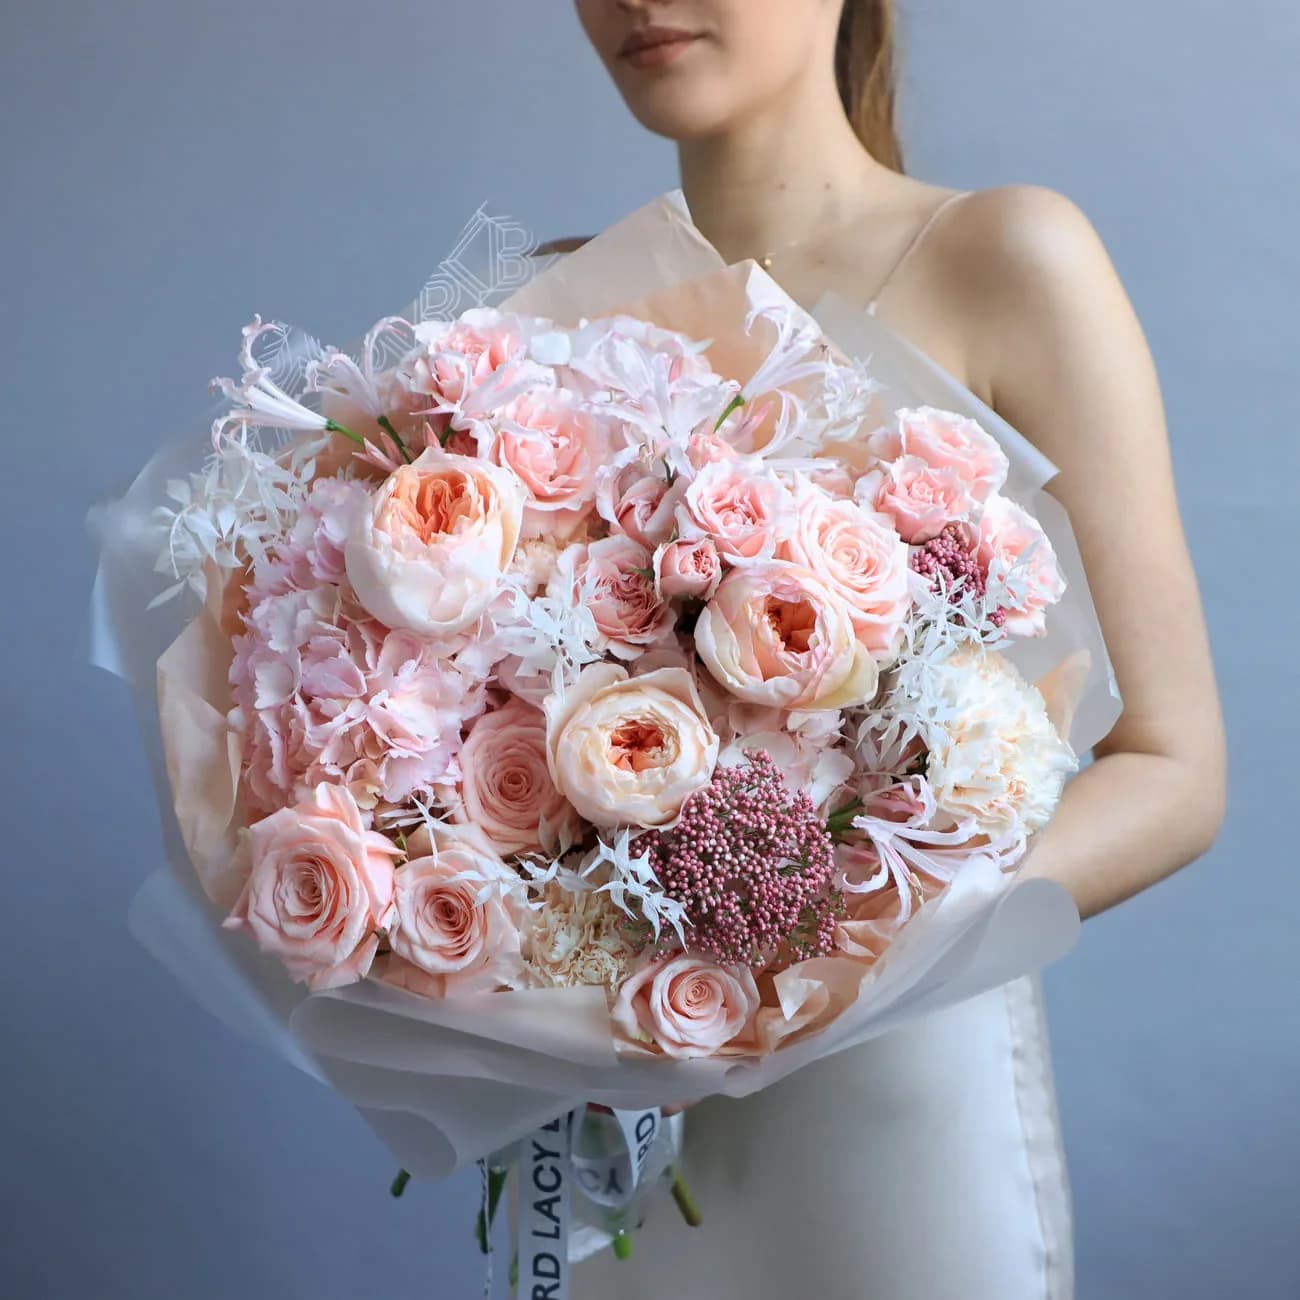
Working florists shop from four categories. Get the balance right and the bouquet almost builds itself; get it wrong and the best technique in the world won't rescue it.
Flowers (for a mid-size 30-stem bouquet)
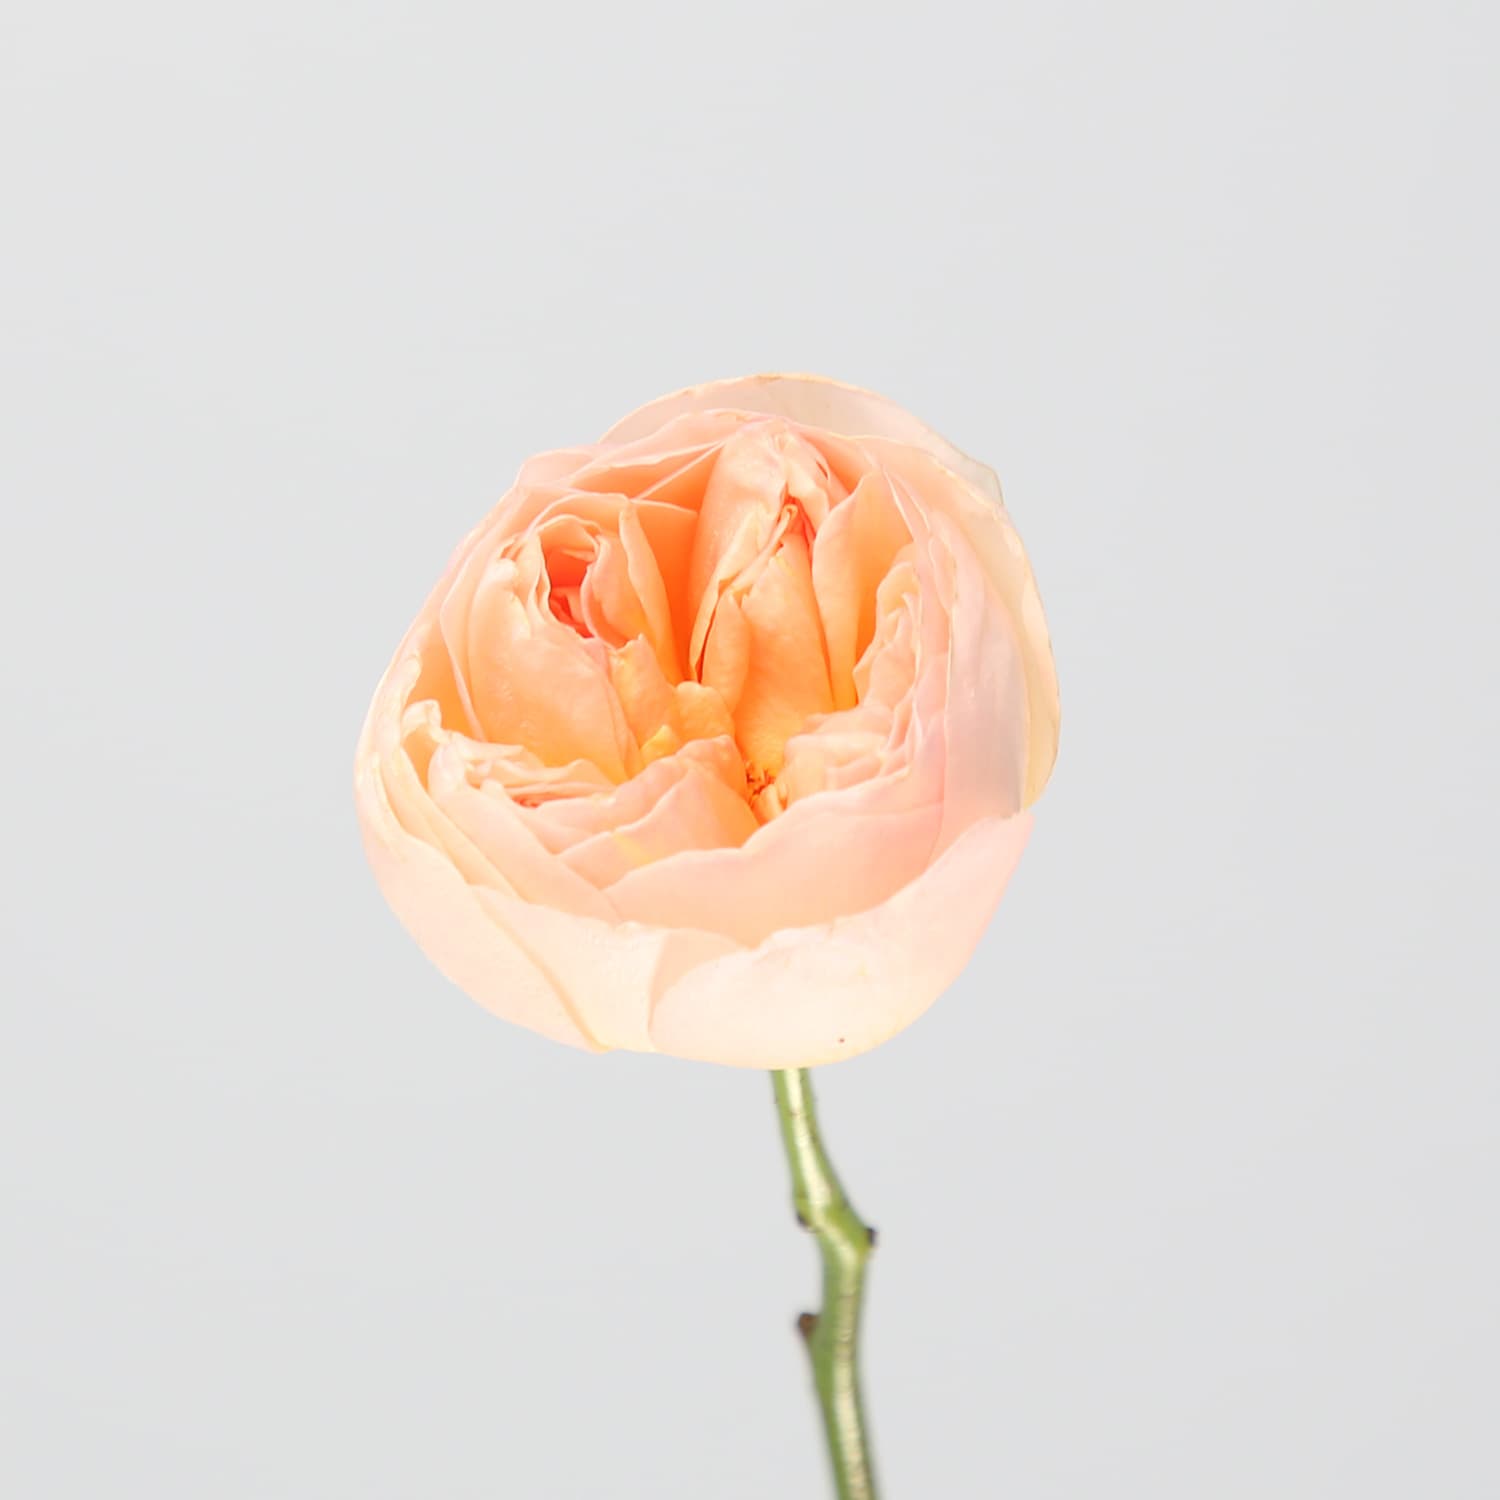
- 5-9 focal flowers. Garden roses, peonies, dahlias, ranunculus clusters. These are the "hero" flowers that define the palette.
- 8-15 secondary flowers. Ranunculus, spray roses, lisianthus, mattiola. Fill visual weight around the focals.
- 8-15 filler stems. Waxflower, ammi, astrantia, small buds. Add texture and airiness.
- 8-12 greenery stems. Silver dollar eucalyptus, italian ruscus, pistacia, seeded eucalyptus. Frame the flowers; never overwhelm them.
The focal choice sets the wedding aesthetic. For classical weddings, David Austin garden roses are the modern standard — dense, romantic, longer vase life than peonies.
Tools and finishing
- Sharp secateurs (florist scissors are too small for stems)
- Florist tape (green, self-adhesive)
- Silk or velvet ribbon (2-3 m in the wedding palette)
- Straight pins (for pinning the ribbon end)
- Bucket of cool water
- Cool storage for overnight (refrigerator works)
Step 1 — Condition flowers 24 hours ahead
Every flower needs conditioning before it enters the bouquet. Skipping this step is the single biggest cause of bouquets that wilt during the ceremony.
- Cut every stem on the diagonal to expose maximum vascular surface for water uptake.
- Strip all leaves that would sit below the waterline (they rot and contaminate water).
- Split woody stems (roses) 2 cm at the base to accelerate hydration.
- Place in cool water with commercial flower food and store at 15-18°C overnight in a cool room or refrigerator.
For a full breakdown of conditioning technique per flower type, see the flower conditioning guide.
Step 2 — Build the "spine" (day of assembly)
Start with 3-5 focal flowers held in one hand. This is the spine — everything spirals around this core.
Positioning:
- Tallest focal in the centre, angled slightly toward you
- Remaining focals spiralling around at slightly lower heights
- Every stem angles the same direction at the same point in your grip — this is the "spiral" that locks the bouquet together
The angle of the stems where they cross in your hand is the mechanic that makes the whole bouquet stay assembled. Cross- angled stems slip apart; consistent-angled stems lock.
Step 3 — Build in spiralling layers
Once you have the focal centre secured, add each new flower at a spiral angle. Not straight down — cross the existing bunch at 30-60°.
Three rules for adding stems:
- Every stem angles the same direction. All right-leaning or all left-leaning, never mixed.
- Rotate the bouquet after each stem so growth stays even across all sides.
- Alternate types. Focal → secondary → filler → greenery → focal, not "all roses first, all fillers second."
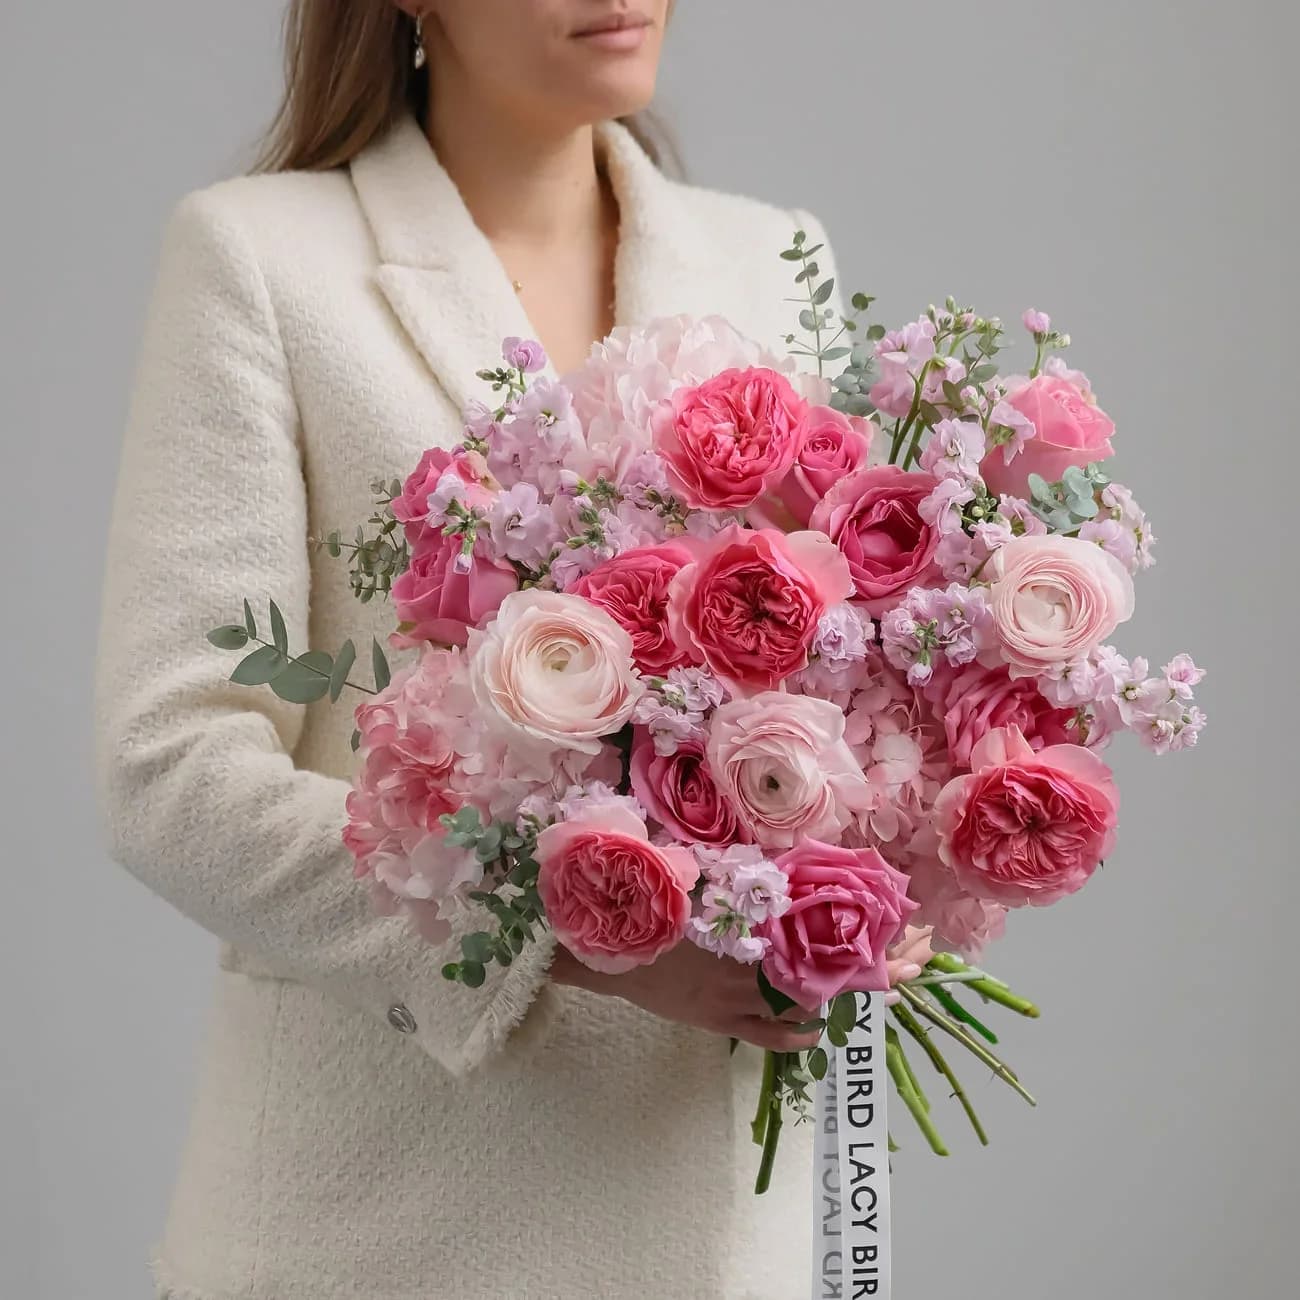
The role of secondary flowers
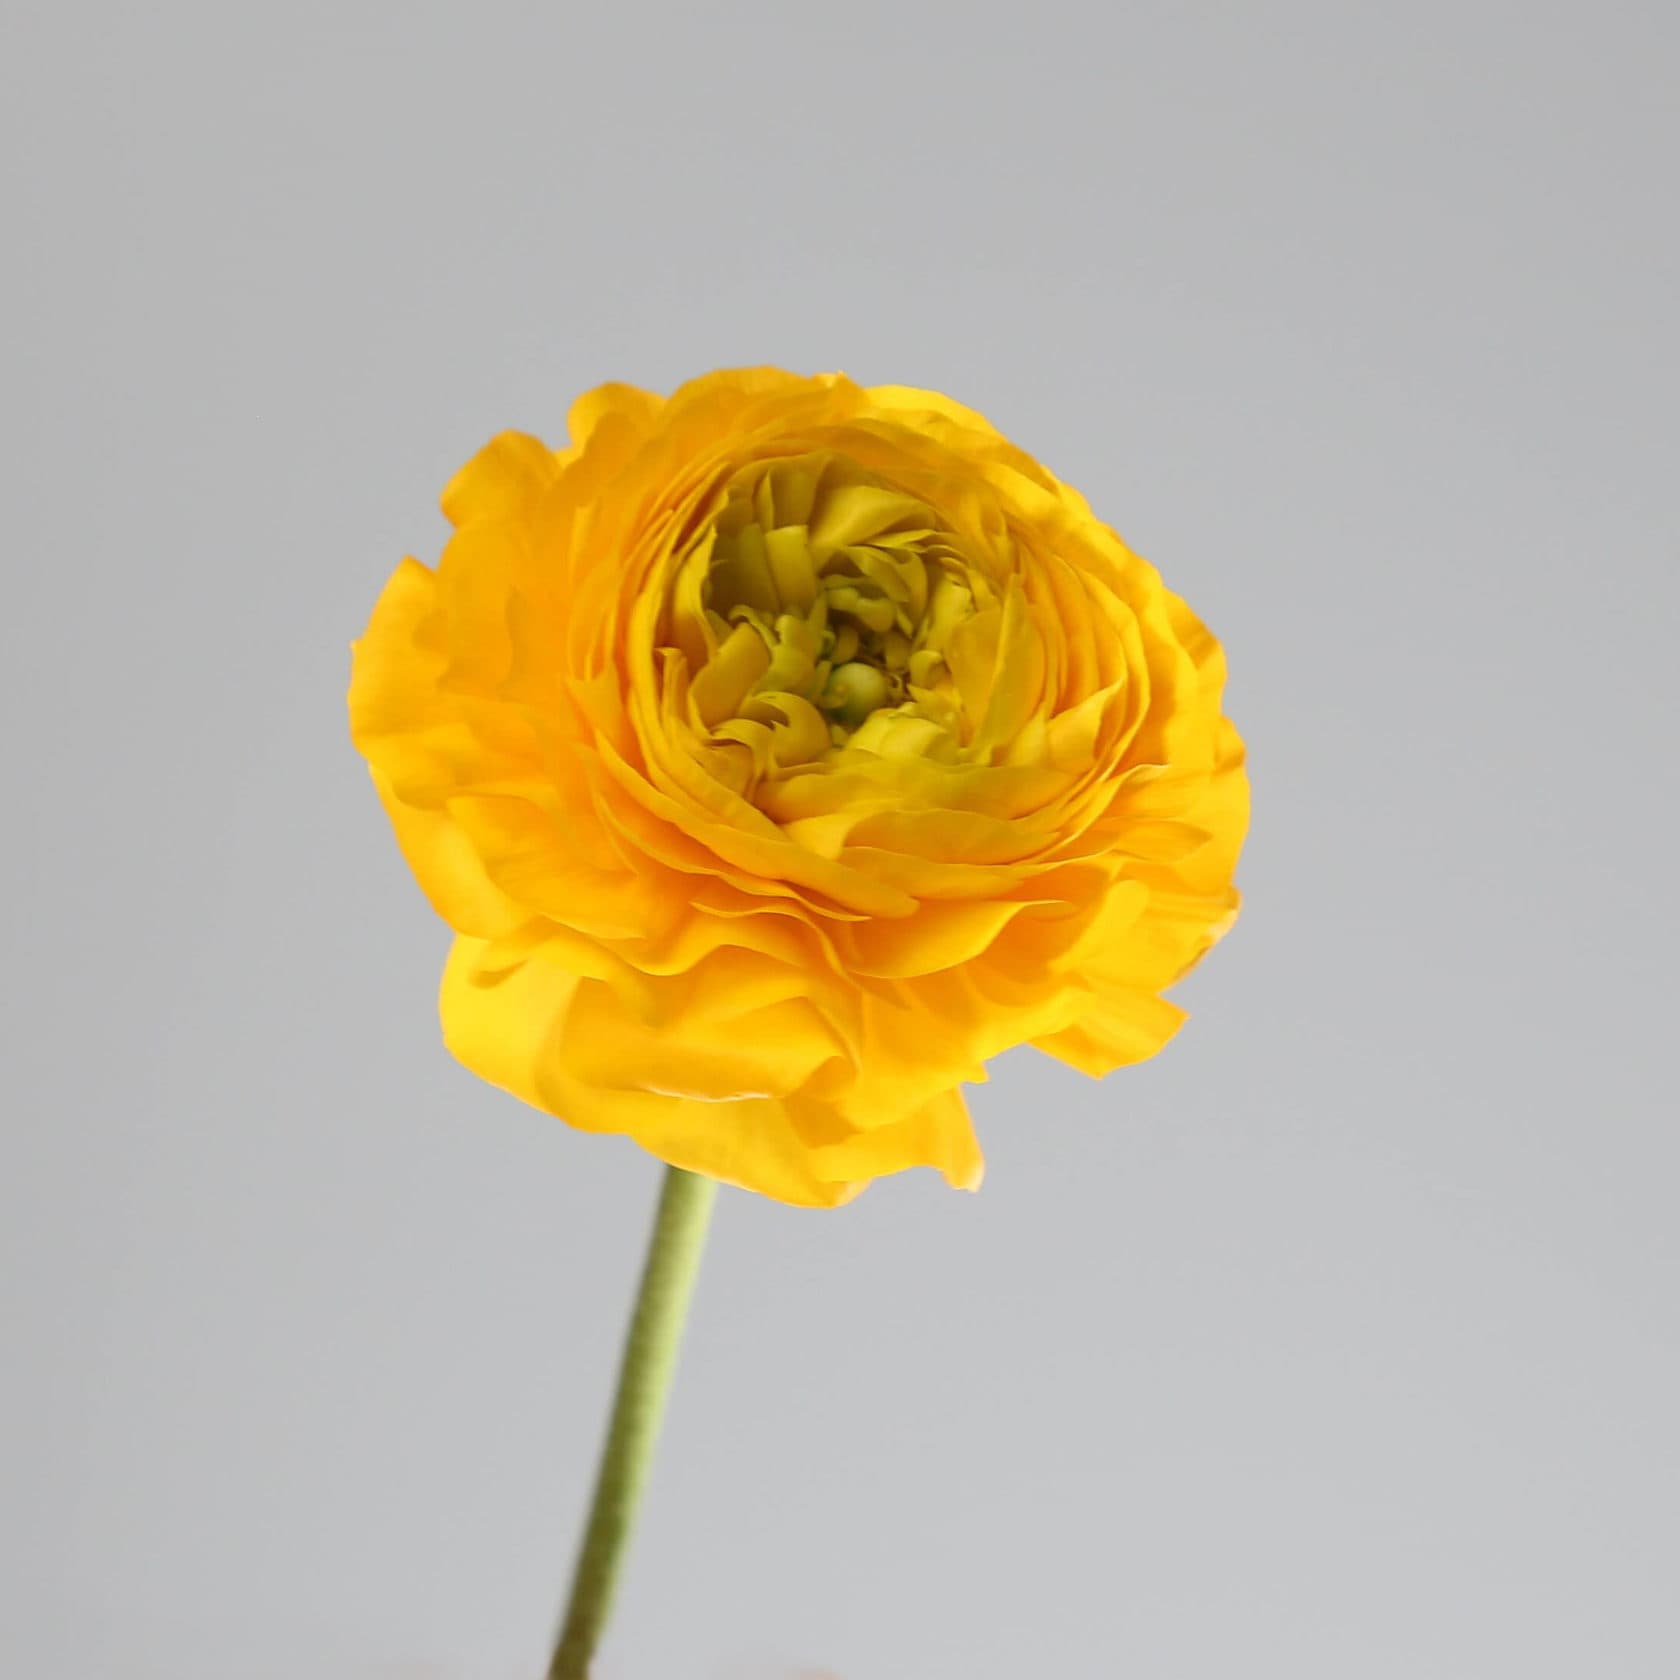
Secondary flowers do the heavy lifting for visual density. Ranunculus in particular gives a luxury look at a fraction of peony cost — and holds shape all day.
Step 4 — Test the shape as you build
Every 8-10 stems, hold the bouquet vertically and check the top-down shape.
Aim for:
- Round or gently asymmetric top (not flat)
- Balanced weight across all sides
- Focal flowers visible from all viewing angles
- No single stem crossing above the others' heads
Adjust before adding more. Once you tape the stems together in Step 6, the shape is locked in.
Step 5 — Add greenery for softness
With the flowers in place, greenery fills gaps and softens the edges. Restraint matters — 8-12 greenery stems for a mid-size bouquet. More overwhelms the flowers.
Placement by greenery type:
- Wispy greenery (astrantia, waxflower, feather grass) around the outer edges for softness
- Structural greenery (eucalyptus, italian ruscus) between focals for weight and separation
- Trailing (amaranthus, ivy, jasmine vine) at the bottom edge where the ribbon will drop
Step 6 — Tape the stems
Holding the bouquet firmly in one hand, take florist tape and begin wrapping 2 cm below your grip.
- Wrap tightly in a spiral, going down 5-7 cm along the stems
- Continue wrapping over the tape ends to secure
- Tension matters — firm but not so tight it cuts into stems
The taped area is what your hand grips during the ceremony. It should feel solid; if it flexes when squeezed, wrap again with a second layer.
Step 7 — Trim stems to final length
Standard bridal stem lengths:
| Bouquet style | Stem length | Notes |
|---|---|---|
| Round hand-tied | 25-35 cm | Standard bridal proportion |
| Elopement / posy | 20-25 cm | Small, close to the hand |
| Cascade | 40-60 cm | Longer for flowing shape |
| Nosegay | 15-20 cm | Tight, minimal |
Cut all stems even at the bottom with sharp secateurs. Diagonal is optional here (they won't be in water for long).
Step 8 — Ribbon wrap
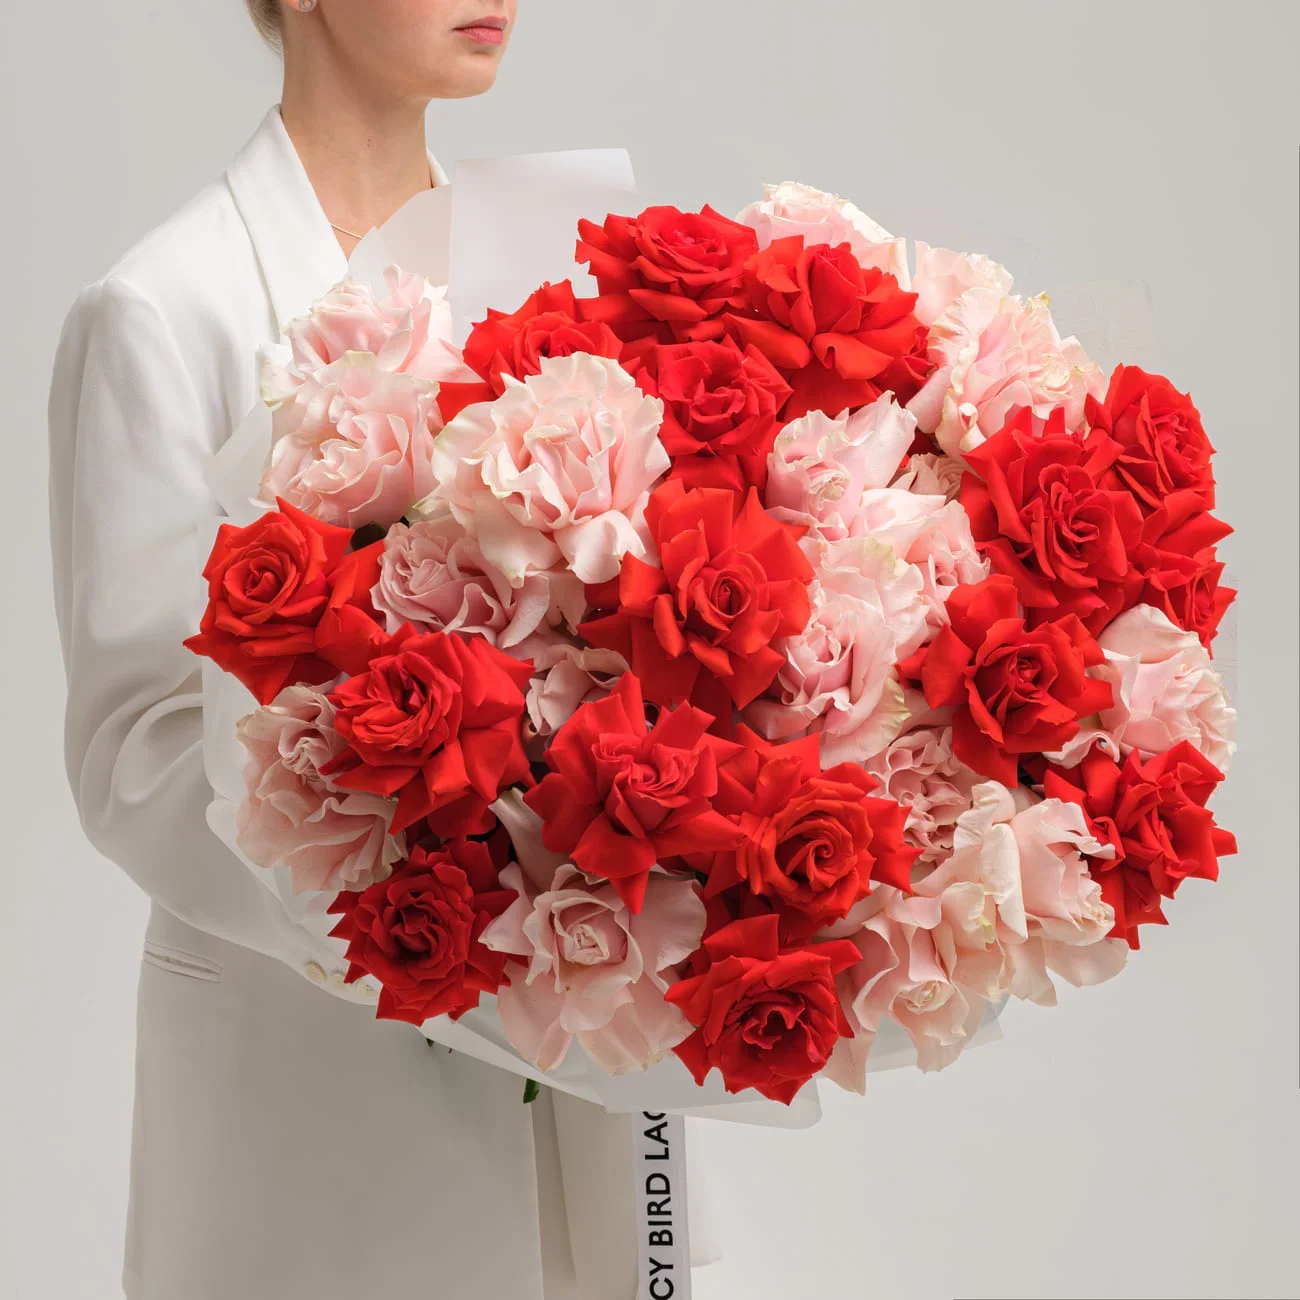
The ribbon is what the photographer's lens sees at the bride's hands, and what her fingers feel. Invest in real silk or velvet ribbon in the wedding palette — 2-3 metres, 2-3 cm wide.
Wrap technique:
- Start just above the taped area
- Wrap either in a criss-cross X pattern (adds texture and visual interest) or a smooth column (clean and modern)
- Finish with a small bow at the base — where stems meet ribbon
- Pin the ribbon end with a straight pin (hidden inside a fold)
Trailing ribbon length: 30-60 cm below the bouquet base. Long enough to move gracefully as the bride walks; not so long it drags on the ground.
Step 9 — Refresh before the ceremony
The day before wedding evening: mist the bouquet lightly with water. Store refrigerated at 4-8°C.
Wedding morning: remove from refrigerator 30 minutes before photographs. Refresh with a light water mist. The bouquet is now photograph-ready.
For pre-ceremony photography, keep the bouquet upright in a narrow vase of cool water between shots. The bride only needs to hold it during actual photography and ceremony walk.
Common DIY mistakes — and how to avoid them
Too few flowers. Under 20 stems reads sparse in photographs. Aim for 25+ for a bridal-scale bouquet.
Mixed stem directions. All stems must angle the same way. Cross-angled stems don't lock together, and the bouquet feels loose in the hand.
Uneven top. Rotate the bouquet frequently during building. Once taped, the shape is locked.
Late assembly. Building on the wedding morning under time pressure is chaos. Build the day before; refresh in the morning.
Wrong greenery choice. Cypress or pine near the bride's face is overwhelming and smells strong. Use silver dollar eucalyptus, italian ruscus, or salal instead.
Ribbon too short. Trailing ribbon under 30 cm looks cheap. Splurge on 40-60 cm of real silk.
No conditioning. Un-conditioned flowers wilt during ceremony. Never skip the 24-hour water-and-flower-food step.
The one-hour timeline for a mid-size bouquet
For a 25-30 stem hand-tied bouquet:
- Minutes 0-15: flower prep, unwrapping, arranging materials
- Minutes 15-45: building the bouquet (spiral construction)
- Minutes 45-55: taping stems and trimming length
- Minutes 55-60: ribbon wrap and photography
Professional florists can build in 30-45 minutes. First-time DIYers should plan 60-90 minutes and not rush.
Cost breakdown — DIY vs professional
| Category | DIY materials | Professional equivalent |
|---|---|---|
| Focal flowers (7 garden roses) | $28-42 | included |
| Secondary (12 ranunculus + 8 spray roses) | $30-45 | included |
| Filler (15 waxflower + ammi) | $15-25 | included |
| Greenery (10 eucalyptus stems) | $8-15 | included |
| Silk ribbon (3 m) | $12-25 | included |
| Florist tape + tools | $10-20 (reusable) | — |
| Total DIY materials | $103-172 | — |
| Total professional (mid-market) | — | $400-750 |
| Total professional (luxury studio) | — | $800-1,500 |
The savings sound compelling — but the professional price includes:
- Guaranteed shape and colour balance
- Backup flowers if any wilt
- Delivery timed to first-look photography
- Zero wedding-morning stress
- A design consultation and mock-up in the studio
- Preservation-ready assembly if the bride wants keeping
For weddings costing $10,000+ total, hiring is almost always the right call. DIY makes sense for small elopements, backyard weddings, and couples with genuine floral experience.
FAQ
How many flowers do I need for a bridal bouquet?
A round mid-size bridal bouquet uses 25-40 stems total: 5-9 focal flowers (garden roses, peonies, dahlias), 8-15 secondary flowers (ranunculus, spray roses, lisianthus), 8-15 filler stems (waxflower, ammi, mattiola), and 8-12 greenery stems (eucalyptus, italian ruscus). Elopement bouquets can be 15-20 stems; oversized bouquets 45-60.
Can I make my own bridal bouquet?
Yes, if the bouquet is small to mid-size (25-40 stems), the flowers are hardy varieties (roses, ranunculus, spray roses), and you have 3-4 hours the day before the wedding. Avoid DIY for cascade bouquets, elaborate structures, or bouquets dominated by delicate flowers like peonies, sweet peas, or anemones.
When should I make my bridal bouquet — the day before or morning of?
Build the bouquet the day before the wedding, then refresh it the morning of. Assembling a bouquet on wedding morning under time pressure produces predictable stress and mistakes. Store the finished bouquet refrigerated at 4-8°C overnight; remove 30 minutes before photographs.
What flowers last longest in a bridal bouquet?
For a bouquet that must survive a full wedding day out of water: roses (7-14 days vase life), ranunculus (5-10 days), lisianthus (7-14 days), spray roses (7-10 days), and orchids (14-30 days) all hold well. Avoid peonies, sweet peas, and open dahlias for a bouquet the bride will hold from ceremony through reception.
How much does a professional bridal bouquet cost?
A professional round hand-tied bridal bouquet is typically $250-500 for mid-market work, $500-1,200 for luxury studio work with named-cultivar garden roses, and $1,200-2,500 for elaborate structures or delicate flower dominance. DIY materials for the same mid-size bouquet cost $80-160.
Related reading: