How to Make a Hand-Tied Bouquet: Spiral Technique Step by Step
The spiral technique working florists use to build hand-tied bouquets of any size in under 15 minutes. Step-by-step, with mechanics that keep the bouquet stable in water and out.
The hand-tied bouquet is the foundation of all wedding and gift floristry. Every florist learns the spiral technique first because it works for any bouquet size, any flower combination, and any style — round, asymmetric, garden, or minimalist.
This guide covers the spiral method used in every working florist studio worldwide.
TL;DR. The hand-tied bouquet is built on a spiral grip — every stem angles the same direction as it crosses the previous ones in your hand, locking the bouquet together. Add flowers in layers: 3-5 focal first, then secondaries spiralling around, then filler and greenery. Tape stems 5-7 cm below the grip, trim, and finish with ribbon.
What the spiral technique does
The spiral grip is what makes a hand-tied bouquet stay together without a vessel. Every stem angles the same direction as it crosses previous stems in your hand.
Consistent angles = mechanical lock. All stems support each other because they all lean the same way.
Mixed angles = slipping apart. Cross-angled stems slip past each other and the bouquet loosens.
Once you have the spiral grip, adding stems is fast: each new stem locks into place against the existing structure.
Materials
Flowers (mid-size 30-stem bouquet):
- 5-7 focal flowers (garden roses, peonies, dahlias, ranunculus)
- 10-12 secondaries (spray roses, lisianthus, mattiola)
- 8-10 filler (waxflower, ammi, astrantia)
- 6-8 greenery stems (eucalyptus, italian ruscus, pistacia)
Tools:
- Sharp secateurs
- Florist tape
- Silk or cotton ribbon
- Water bucket
Step 1 — Condition all flowers 24 hours ahead
Every flower needs conditioning before entering the bouquet. See the conditioning guide for the universal method.
Unconditioned flowers wilt during construction or shortly after.
Step 2 — Build the spine (3-5 focals)
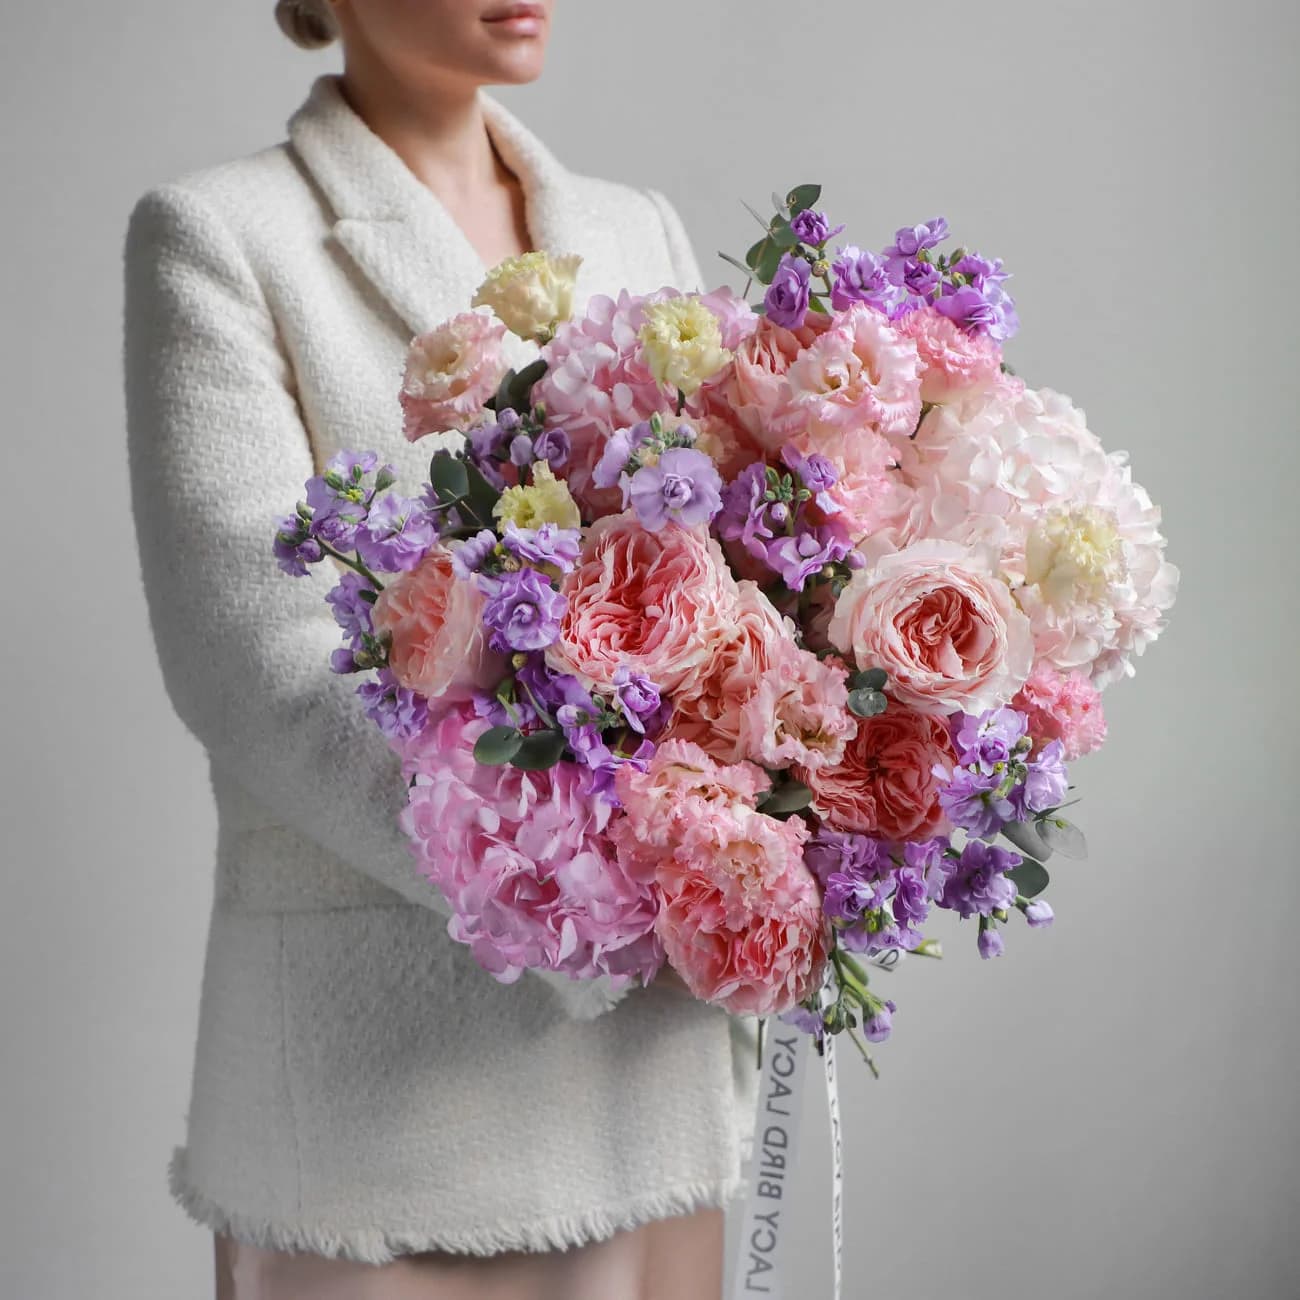
Start with 3-5 focal flowers held loosely in one hand.
- Tallest focal in the centre, angled slightly toward you
- Remaining focals spiralling around it at slightly lower heights
- Every stem angles in the same direction (all right-leaning OR all left-leaning) as it crosses the others
The angle where stems meet in your grip is the mechanic. This spot becomes the taped area later.
Step 3 — Add stems in spiralling layers
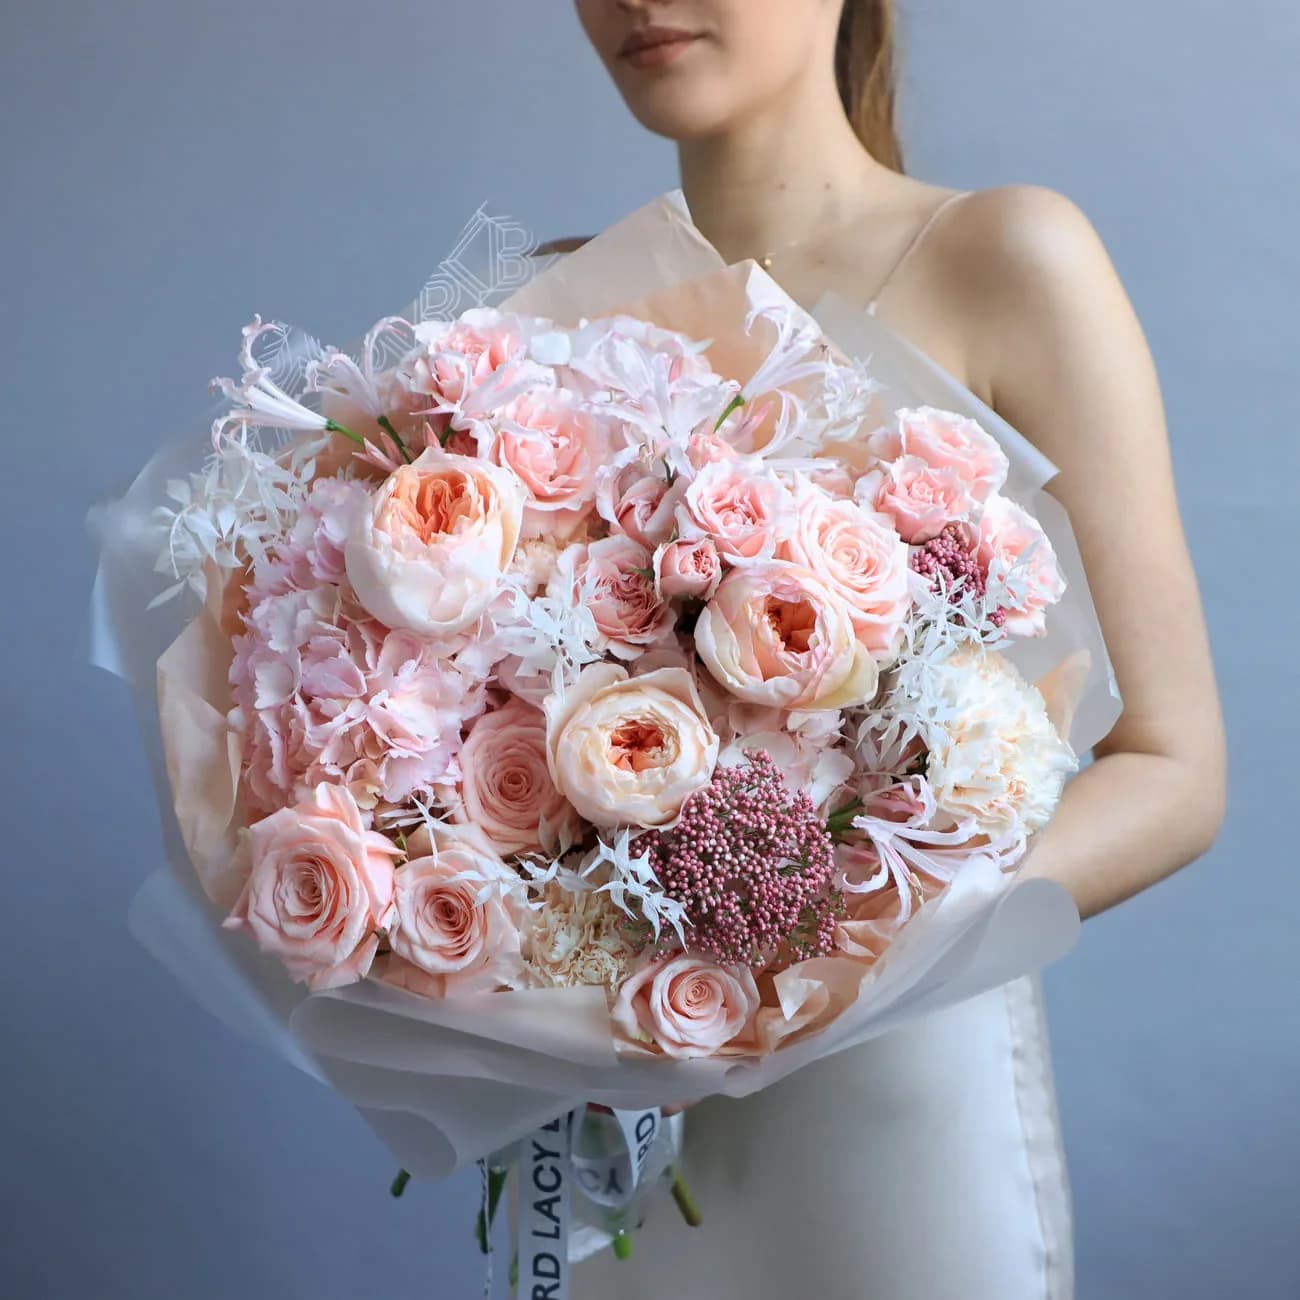
Once the spine is stable, add each new stem at a spiral angle.
Three rules:
- Every stem angles the same direction as existing stems
- Rotate the bouquet after each stem (keeps growth even)
- Alternate flower types (focal → secondary → filler → greenery → focal), not "all of one type first"
Angle: 30-60° cross to existing stems. Straight-down insertions break the spiral.
Step 4 — Test the shape
Every 8-10 stems, hold the bouquet vertically and check the shape from above and the side.
Aim for:
- Round or gently asymmetric top
- Balanced weight from all sides
- Focal flowers visible from every angle
- No stem crossing above the others' heads
Adjust before adding more. Once taped, the shape is locked.
Step 5 — Add greenery
Add greenery in three types with distinct roles.
- Structural (eucalyptus, italian ruscus) between focals for weight and separation
- Wispy (astrantia, waxflower) at the outer edges for softness
- Trailing (small amaranthus, ivy) at the bottom edge
Total greenery: 6-8 stems for a mid-size bouquet. More overwhelms flowers.
Step 6 — Tape the stems
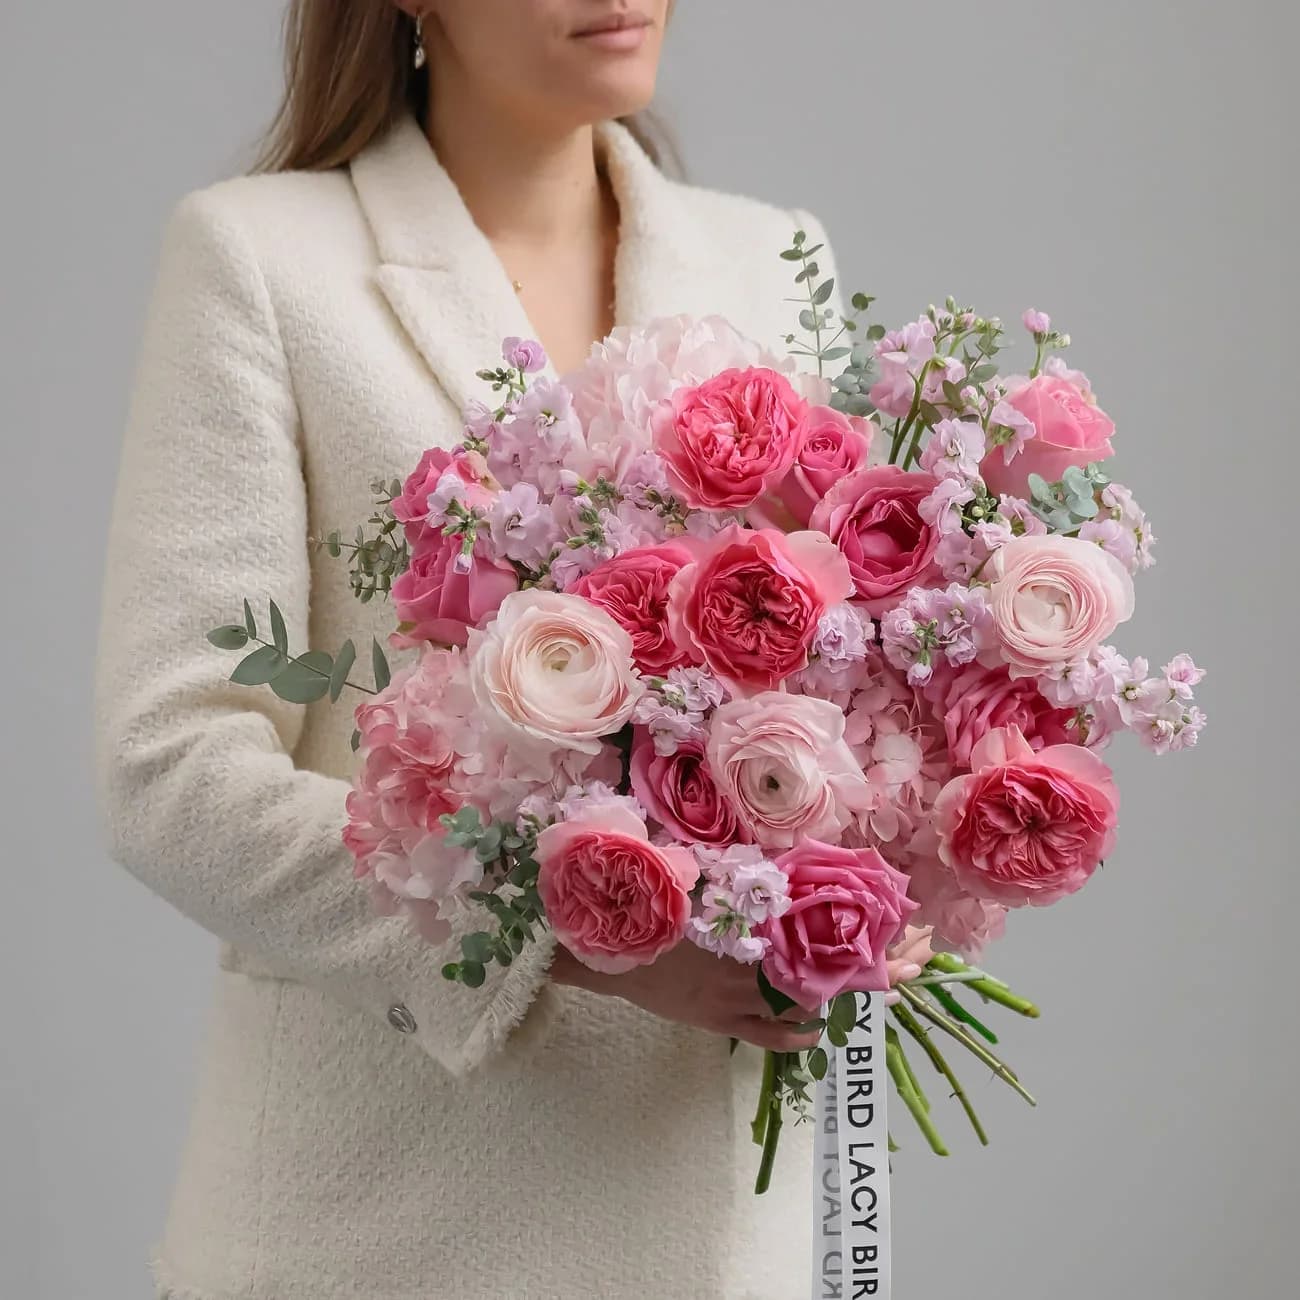
Holding the bouquet firmly in one hand, take florist tape and wrap 2 cm below your grip.
- Wrap tightly in a spiral going down 5-7 cm
- Continue wrapping over the wire tape ends
- Firm tension but not so tight it cuts stems
The taped area is what your hand grips during use. It should feel solid when squeezed.
Step 7 — Trim stems even
Cut all stems even at the bottom with sharp secateurs.
Stem length by use:
| Use | Stem length |
|---|---|
| Round hand-tied bridal | 25-35 cm |
| Elopement / posy | 20-25 cm |
| Gift bouquet | 30-40 cm |
| Presentation bouquet (arm-carry) | 40-55 cm |
Step 8 — Ribbon finish
Wrap silk or cotton ribbon over the taped area.
- Start above the taped section
- Wrap in a criss-cross X pattern OR smooth column
- Finish with a small bow at the bottom
- Pin ribbon end with a straight pin (hidden inside a fold)
Trailing ribbon: 30-60 cm below the bouquet base. Long enough to move; not so long it drags.
Bouquet sizes reference
| Size | Total stems | Diameter |
|---|---|---|
| Nosegay / posy | 12-18 | 15-20 cm |
| Small elopement | 15-25 | 20-25 cm |
| Standard bridal | 25-40 | 25-32 cm |
| Full bridal | 40-60 | 32-40 cm |
| Presentation / show | 60-80 | 40-50 cm |
Common mistakes
Cross-angled stems. All stems must angle the same direction. Mixed angles slip apart.
Too few stems. Under 20 stems reads sparse. Aim for 25+ for bridal.
Building all-one-type-at-once. Alternate focal/secondary/ filler as you go, not "all roses first."
No rotation. Rotate the bouquet after each stem to keep balanced growth.
Late taping. Tape while flowers are still in your hand — the grip position matters.
Ribbon too short. Under 30 cm looks cheap. Splurge on 40-60 cm silk.
Skipping conditioning. Flowers wilt during construction. Always condition first.
The 15-minute timeline (professional)
- Minutes 0-3: unwrap and organize flowers
- Minutes 3-10: build bouquet with spiral technique
- Minutes 10-12: tape stems, trim
- Minutes 12-15: ribbon finish
For a mid-size 30-stem bouquet. First-timers plan 30-45 minutes.
Care after finishing
- Store in cool water immediately
- Refrigerate 4-8°C between use and event
- Refresh with mist 30 minutes before display
- Handle by the taped area, never by flowers
Full care in keep flowers fresh.
FAQ
How do you make a hand-tied bouquet?
Start with 3-5 focal flowers held in one hand. Add each new flower at 30-60° angle, crossing previous stems in the same direction. Rotate after each stem. Continue with secondaries, fillers, greenery. Tape 5-7 cm below your grip and finish with ribbon.
What is the spiral technique?
Every stem angles the same direction (all right-leaning or all left-leaning) as it crosses previous stems in your hand. Consistent angle locks stems together mechanically. Cross-angled stems slip apart.
How many stems do you need?
Small: 15-25 stems. Mid-size: 25-40. Large: 40-60. Balance: 20-30% focal, 30-40% secondary, 20-30% filler, 15-20% greenery.
How long does it take?
Professional florists build a 25-30 stem bouquet in 10-15 minutes. First-time DIY-ers plan 45-60 minutes. Time compounds with stem count.
Related reading: